Book Binding for Beginners: Japanese Stab Binding

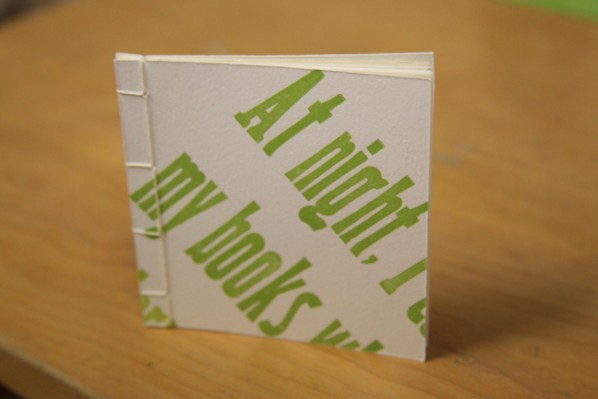
Book binding is the most therapeutic part of the letterpress/handmade book process for me. The pages are printed, the type put away, and all that’s left is to bind this beauty together. In case there are other wannabe bookbinders out there, here’s a simple binding for you to try out. I first made this little 4 x 4 pocket notebook made from leftover letterpress artist proofs started as the prize that Tricia O’Reilly won from our Facebook “Write this faux ad” contest last month, and now it has blossomed into a whole set for sale in our shop of goodies. These particular books use the Japanese 4-Hole Stab Binding technique.
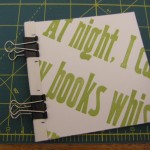 Step 1
Gather your covers and pages together and clip them on the binding edge. (There are also book blocks that you can use for this, but for beginners, clips work just as well.) Measure your four holes (you can see I marked dots for the holes on another slip of paper that I clipped on top as a guide) and stab through them with an awl. I’ll be mentioning specific holes later: for simplicity’s sake, I’m numbering them 1–4, #1 being the hole situated in the top left corner of the book cover, #2 being the next, and so on.
Step 2
Thread your needle (use a larger book-binding needle—regular sewing needles are often too thin and break easily) with waxed linen thread. I wax my own thread on a natural beeswax candle, but you can buy thread already waxed, too.
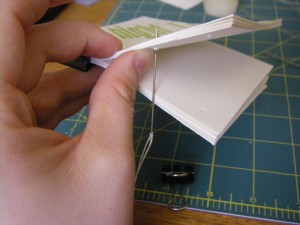 Step 3
Separate the pages of your book (while keeping one binder clip in place as shown) at the center of the spine. From the center, stick the needle through hole #3, pulling the needle and thread up through the front cover. Leave an inch or so of thread at the middle of the spine (i.e. don’t pull it all the way through) where you entered.
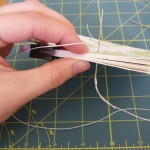 Step 4
Hold the spine all together again (no longer separated in half as in the previous step). Thread the needle through hole #3 again, this time starting from the back cover all the way through to the front cover, so that the thread makes its first “loop” around the spine.
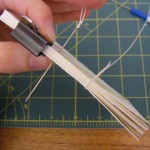 Step 5
From the front cover, make your way to the next hole, hole #2. Pull the needle and thread through it all the way to the back cover. Then go through hole #2 again in the exact same way: from the front cover through to the back cover, forming your second loop around the spine.
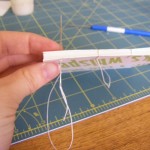 Step 6
From the back cover, make your way to the next hole, hole #1. Thread the needle from the back cover through to the front cover. Then go through hole #1 again in the exact same way: from the back cover through to the front cover, forming your third loop around the spine.
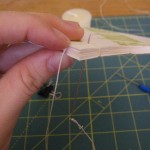 Step 7
Go through hole #1 from the back cover yet again, but this time loop the thread around the head (top) of the book, so that this new loop forms a 90-degree angle to the spine loop you just made in Step 6.
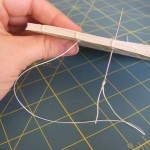
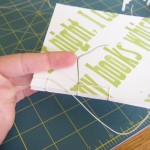 Step 8
Now work your way down the book, going through each hole once to make a straight line that continues from the loop you just made in Step 7: (from the front cover) down hole #2, up hole #3, down hole #4.
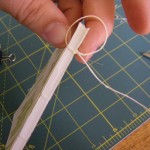
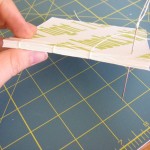 Step 9
After you pull the thread and needle down through hole #4, go through it again (from the front cover down to the back cover), looping the thread around the spine for your fourth (and final) spine loop. Then go through hole #4 a third time (from the front cover down to the back cover), this time looping the thread around the bottom of the book, so that this new loop forms a 90-degree angle to the spine loop you just made.
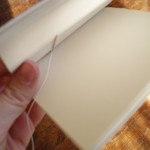
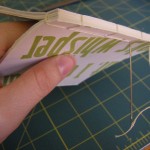 Step 10
Now proceed back to hole #3. From the back cover, stick the needle through hole #3 halfway to your original starting place, and pull the needle through the spine at that spot. Tie a knot with the inch-long thread tail you left in Step 3. Cut the thread, and push the two thread tails back into the spine so they’re out of the way.
Voilà, you have a beautiful book! And I have yet another pocket notebook for sale.


Comments are closed.